How to create users and give them access to PartnerHR.
There are two steps to carry out for you to create and invite users to PartnerHR.
Step 1: Creating a User

A helpful tip: Start by setting up user profiles for your Supervisors first. That way when you set up the user profiles for people they supervise, you'll easily be able to assign their supervisor!
To create a user and set up their Profile, go to the People page and click "Create New Person."
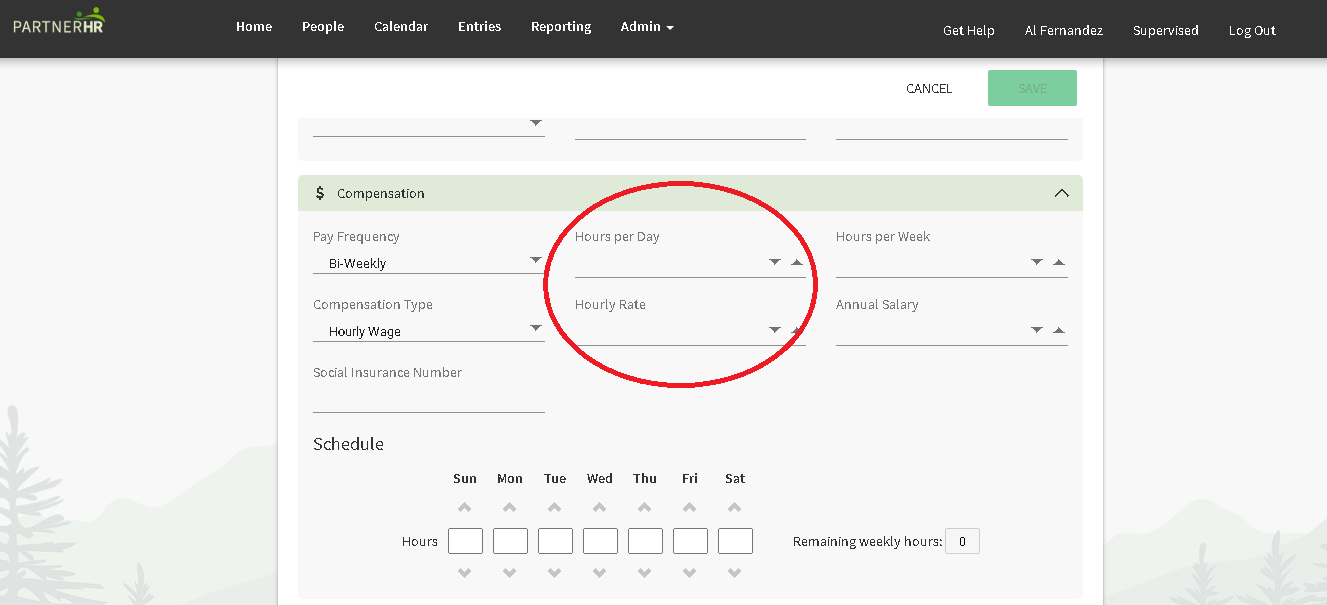
Most of the sections and fields shouldn’t need additional explanation, however, please note the highlighted fields in the image below:
You must be sure to do the following:
- Fill in the mandatory fields, which are marked with a red asterisk
- In order for Time Off Policies to work, you must enter the person's Start Date.
- In order to invite the person to use PartnerHR, you must enter a primary email address. This is the email address that will receive notifications from PartnerHR.
To make sure that your Time Off Policies are able to calculate this employee's time off accrual correctly, fill in the "Hours per day" field.
Step 2: Inviting a User
To invite a new user to PHR, go to the People page and search for their name. Once you've found them, click the employee's name to go to their Profile. 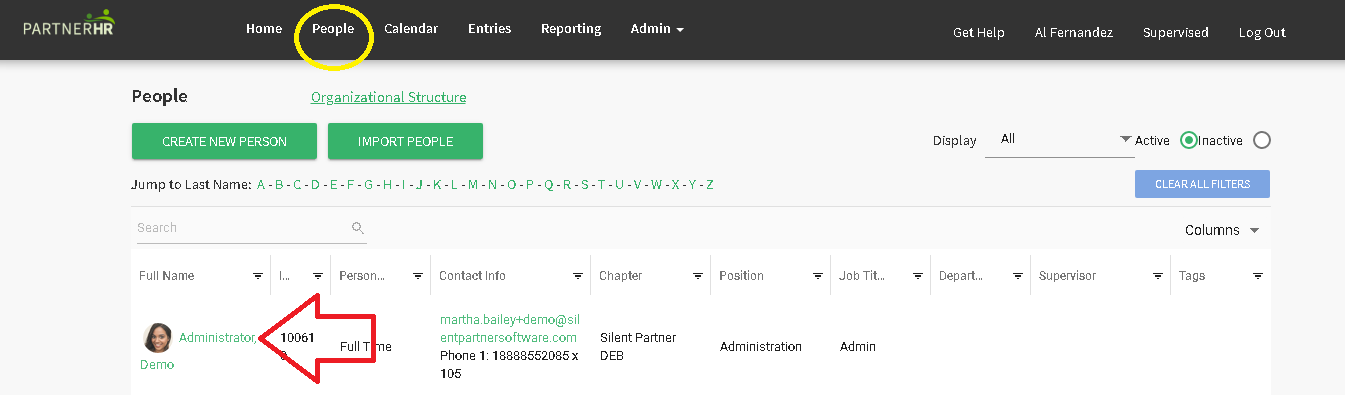
From the person's profile, click the pencil icon edit their Profile, then go to the "Account" tab.
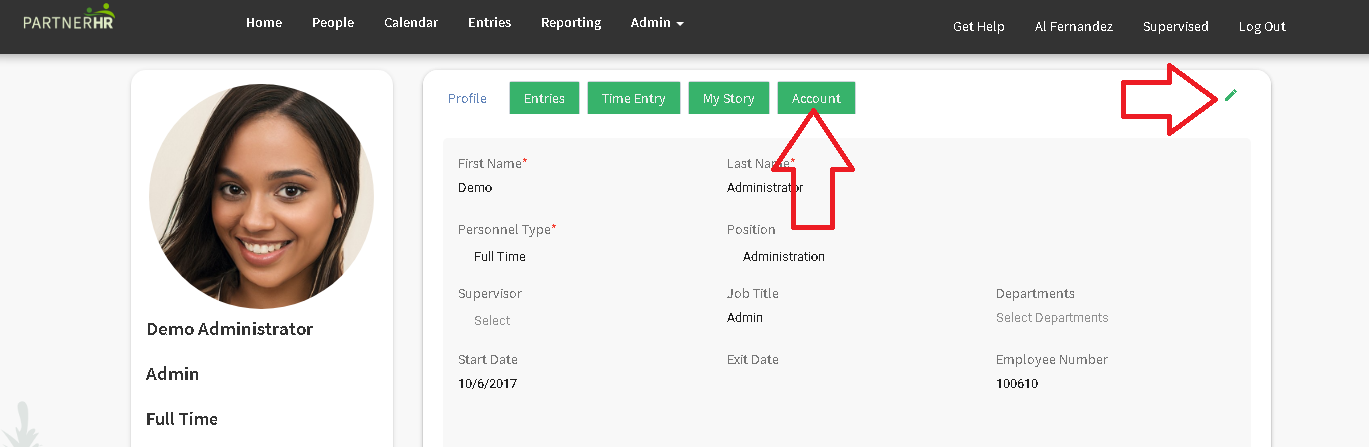
Click the Manage button.
Under "Set Base Permission Level," decide which permission level this user should have: User, Office Administrator, or Administrator. Click "Save" to save the permission level for this user.
Once done, put a check mark next to "Send Invitation Email," then click "Give Access."
PartnerHR will send an email invitation to the new user!
Related Articles
User Permission Levels- standard permissions
Permission Levels User This is the base level permission. All volunteers or staff that you want to access PartnerHR must at minimum be a user. They will have the ability to act on Entries assigned to them, view the Calendar, view the People directory ...How to create new user roles and permissions
To restrict your users' access in the admin panel of your WordPress site, and control what changes they can make, create roles that outline their permissions and add users to those roles. 1. Go to Members plugin by MemberPress 2. Use the "Enter role ...How to configure custom Permission Levels?
To configure or create different user permissions, go to Settings > Company Configuration Under the section Company-wide Permissions, you will be able to select what Supervisors can see in their employees' profiles as well as the ability for ...How to reset your PartnerHR password?
Administrators Administrators should go to the User's Account and select Manage. Then select "Remove Access". Then "Give Access" and provide a new password. Users Users can use the "Forgot Password" link available when they try to log in to Silent ...How to create or connect to other boards in My Board View
It is important to see the board you serve on, but what if you serve on more than one nonprofit board? With My Board View, you can create new boards, or connect to other boards you serve on. Creating a New Board Click "Manage Boards" to see a list of ...
Societ Academy
Learn what you need to know, any time. Free!
- High quality training on demand - sessions are available every day, so you can access training that fits into your schedule.
- Training sessions that are easy to follow - helpful tips throughout each session, and access to training moderators ensure your questions get answered.
- A certificate of completion - you can request a certificate of completion for every session you attend.